Install Ubuntu 18.04 (Bionic Beaver) with kde plasma
Posted by danielApr 29
How to install Ubuntu 18.04 LTS (Bionic Beaver)
Installation steps for Ubuntu 18.04, code named Bionic Beaver. This steps are for the desktop version.
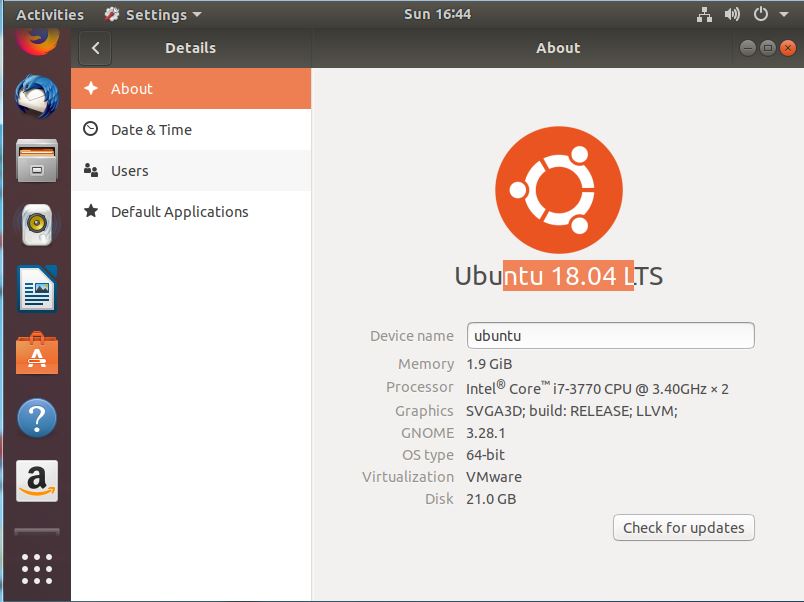
One notable change is Unity is no longer the default desktop environment for Ubuntu anymore. It will feature the latest GNOME (i.e., version 3.28). The Linux kernel version on Ubuntu 18.04 is 4.15.
1. Download iso from the site – http://releases.ubuntu.com/18.04/
Desktop image (AMD64) – http://releases.ubuntu.com/18.04/ubuntu-18.04-desktop-amd64.iso
Server image (AMD64) – http://releases.ubuntu.com/18.04/ubuntu-18.04-live-server-amd64.iso
2. Select disc image file (iso) during installation
In my case, I am using VMware player, I select disc image file (iso) during the creation of the VM.
3. Personalize Linux
In this step, it will ask you for your full name, username, password and to confirm your password.
4. For VMware player, make sure to customize hardware, select the memory size to allocate (2GB in my case, minimum requirement is 1G), disk size, number of vCPUs etc.
Right after finishing the hardware customization and click start, it will immediately start creating the file system and installing software.
Once completed, the system will reboot.
5. Login screen – enter the username and password you submitted when installing the iso.
6. What is new screen
7. Start testing some of the applications
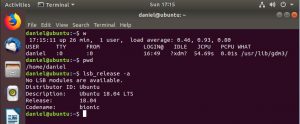
a. The command terminal
b. Firefox browser
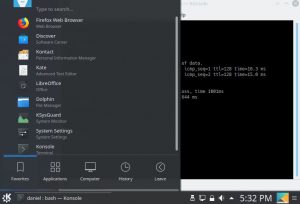
By default Ubuntu 18.04 comes with Gnome 3, you can install KDE plasma and use that as your windows manager. Here are the steps –
1. Run the following commands from the terminal to install kde plasma
sudo apt-get update
apt-get install tasksel -y
sudo tasksel install kubuntu-desktop
reboot
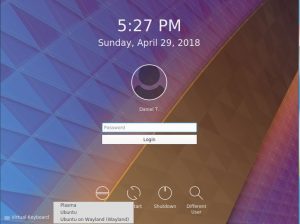
2. After rebooting, select Plasma
Links –
Release notes – Bionic Beaver release notes
What is new – https://itsfoss.com/ubuntu-18-04-release-features/


No comments
You must be logged in to post a comment.